Hot To Burning The ATtiny85 Chips With Tiny AVR Programmer (based on Mac OS 11.6)
This article mainly demonstrates how to use Tiny Programmer to program Attiny85 chip on Mac OS operating system.
Software side:
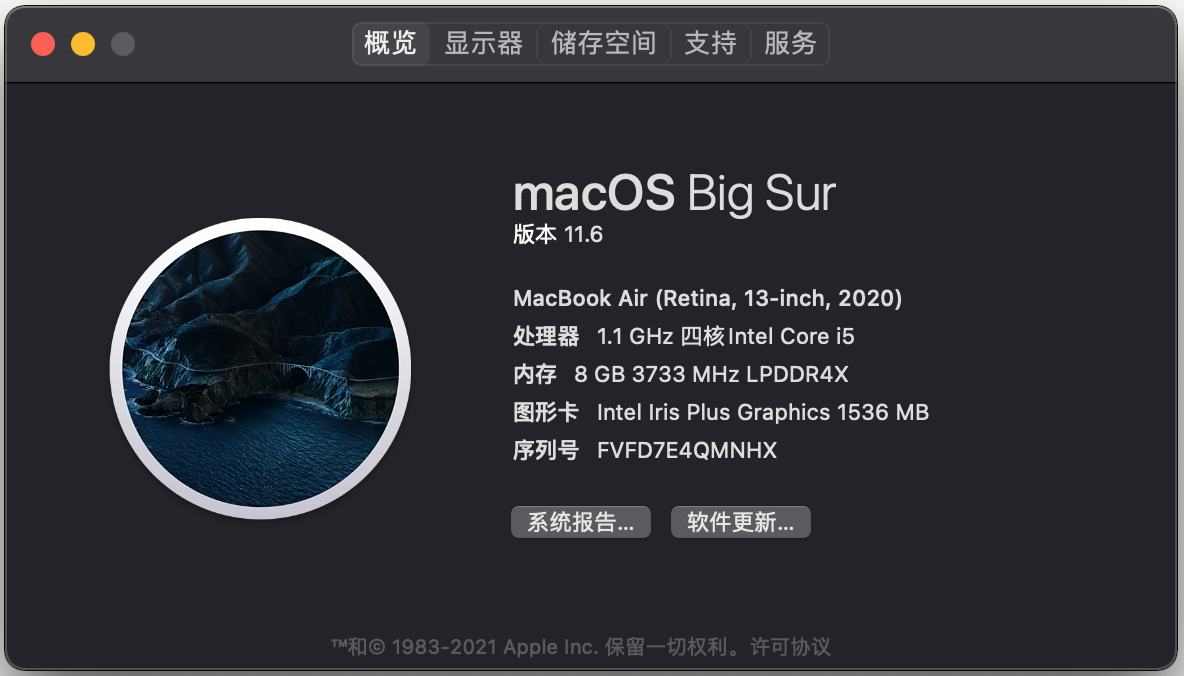
1. First, let's take a look at the version of our operating system. Since this step is a newly installed operating system, there is no software on it now.
Figure 1, we can see that current version is 11.6.
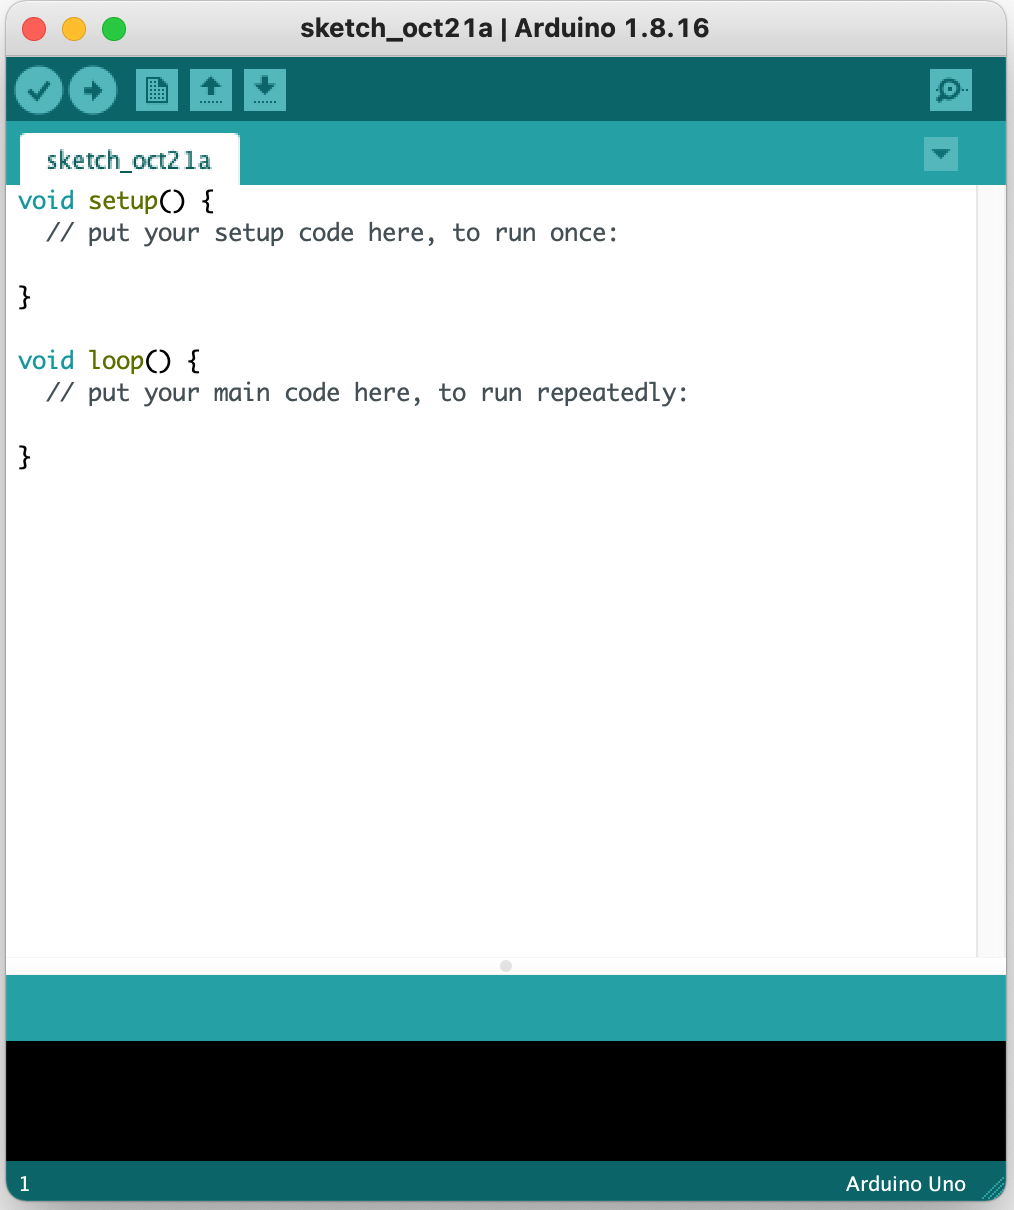
2. We need to download the Arduino ide software from the following address: https://www.arduino.cc/en/software
I downloaded 1.8.16 here, and you can install it directly after the download is complete.
Hardware side:
1. You need a Tiny Programmer.
2. If it is your computer, like mine, it only has a type-c interface, you also need a USB A to C adapter cable.
3. At least one Attiny85 chip, in Dip8 package.
Operation Steps
1. Plug the Tiny Programmer into the USB port of the computer, note that there is no prompt on the device.
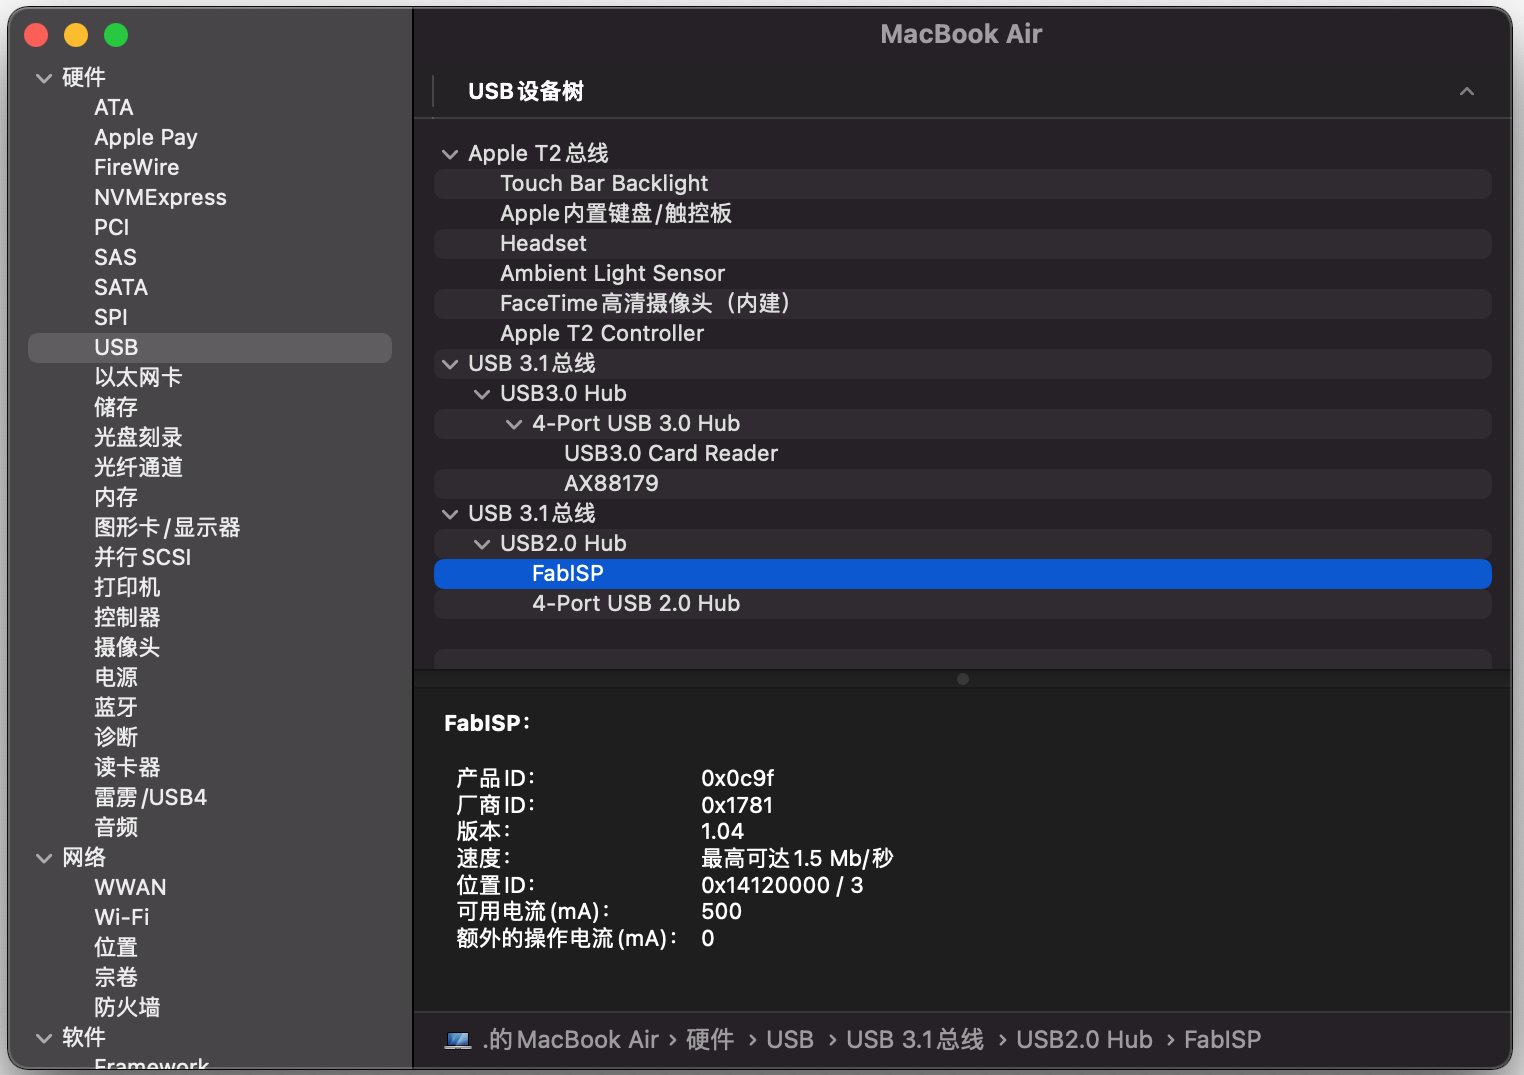
2. We have not installed the driver here. The new version of the operating system already has its own driver. We can view it through the system information, FabISP. There must be the equipment in the blue part. If you can't find it, it means that there is a problem with your Tiny Programmer.
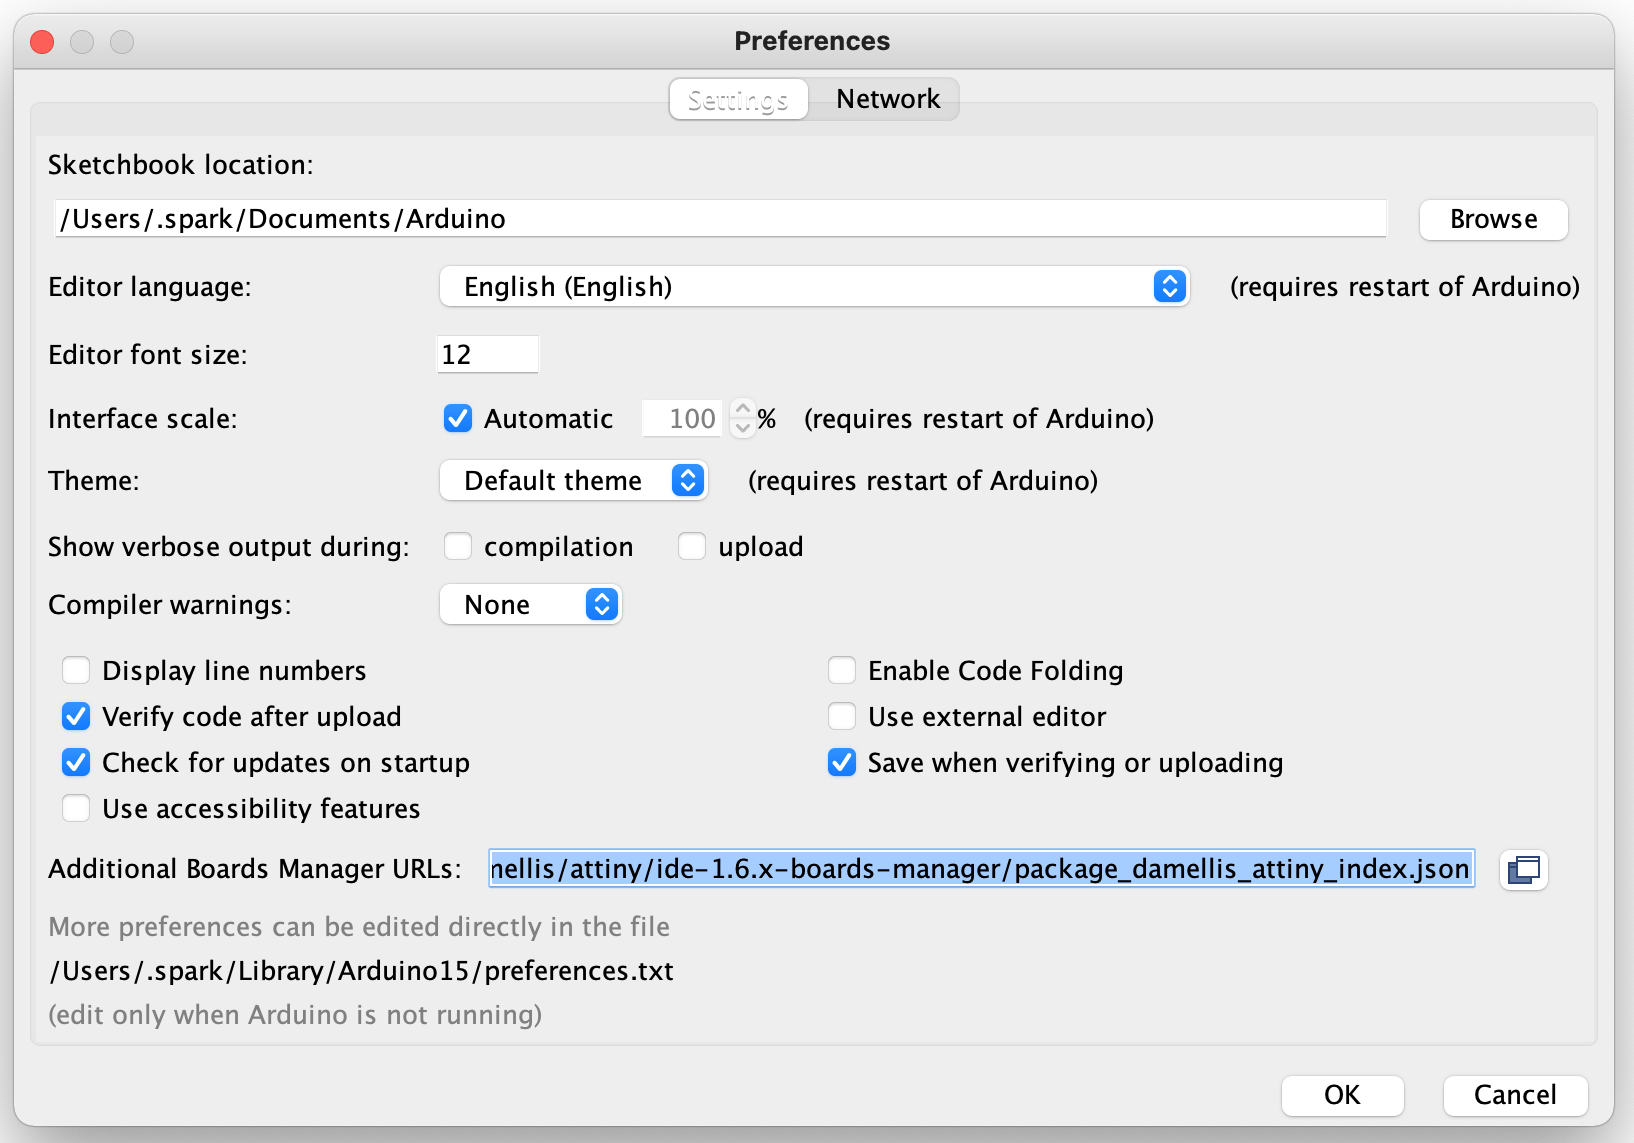
3. Next, we add support for Attiny85 and other series chips. Let's go back to the Arduino side software and open the software's preferences. Copy (https://raw.githubusercontent.com/damellis/attiny/ide-1.6.x-boards-manager/package_damellis_attiny_index.json) the content of this link in the following blue box.
This information comes from:
http://highlowtech.org/?p=1695
For your own reference.
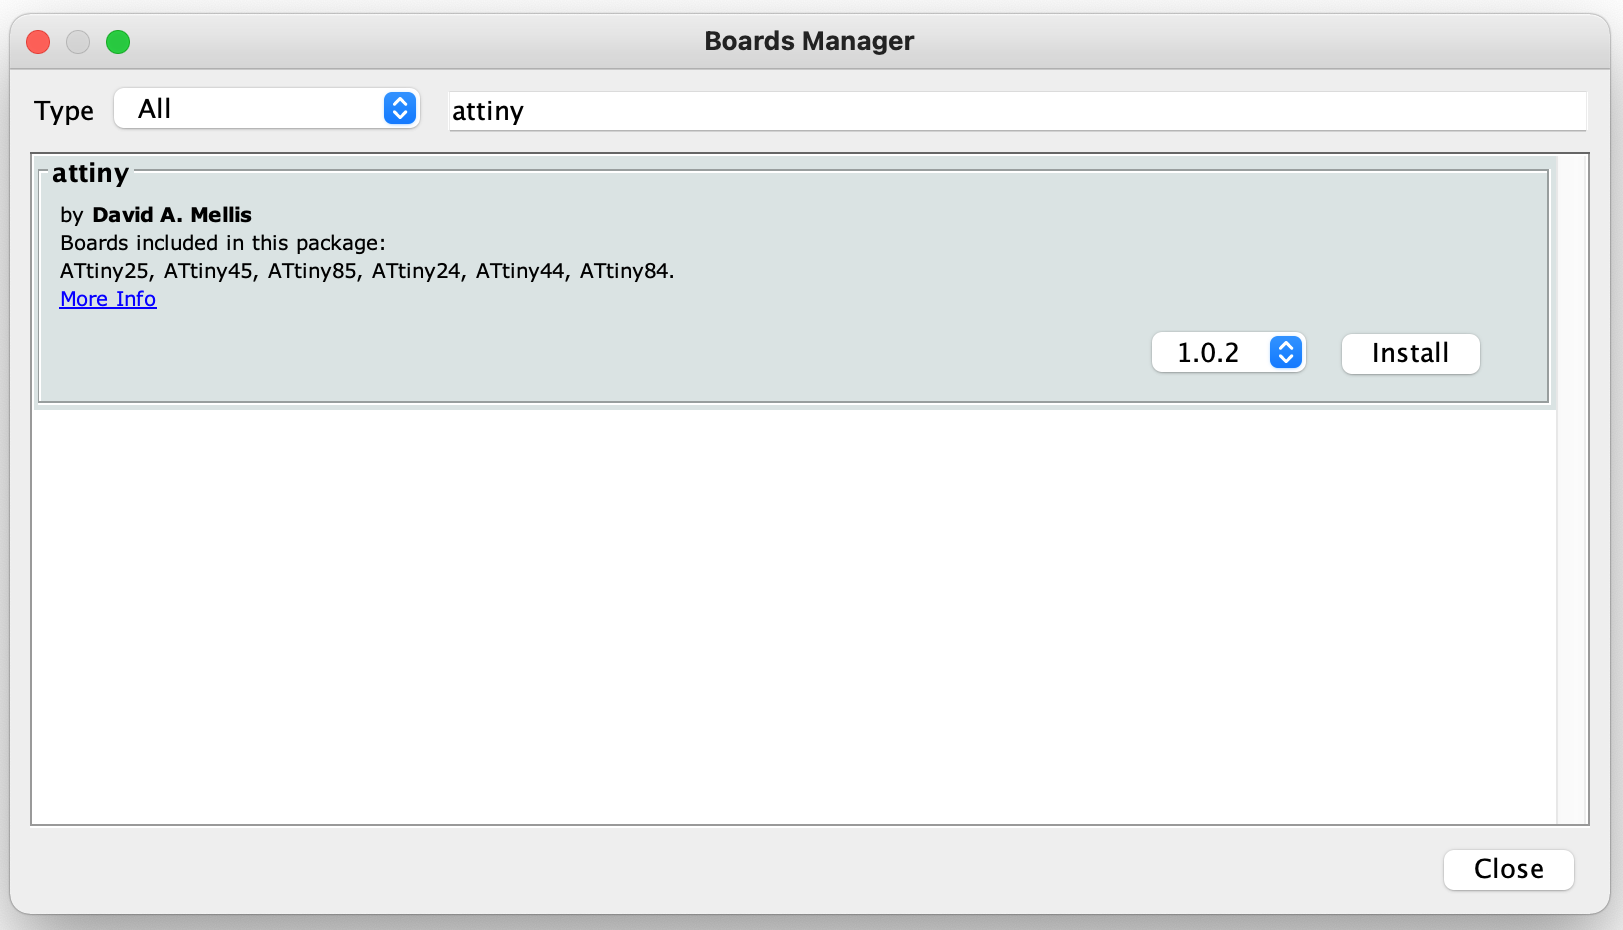
4. Then we go to the Boards Manager in Tools, search for "attiny" and select “Install”.
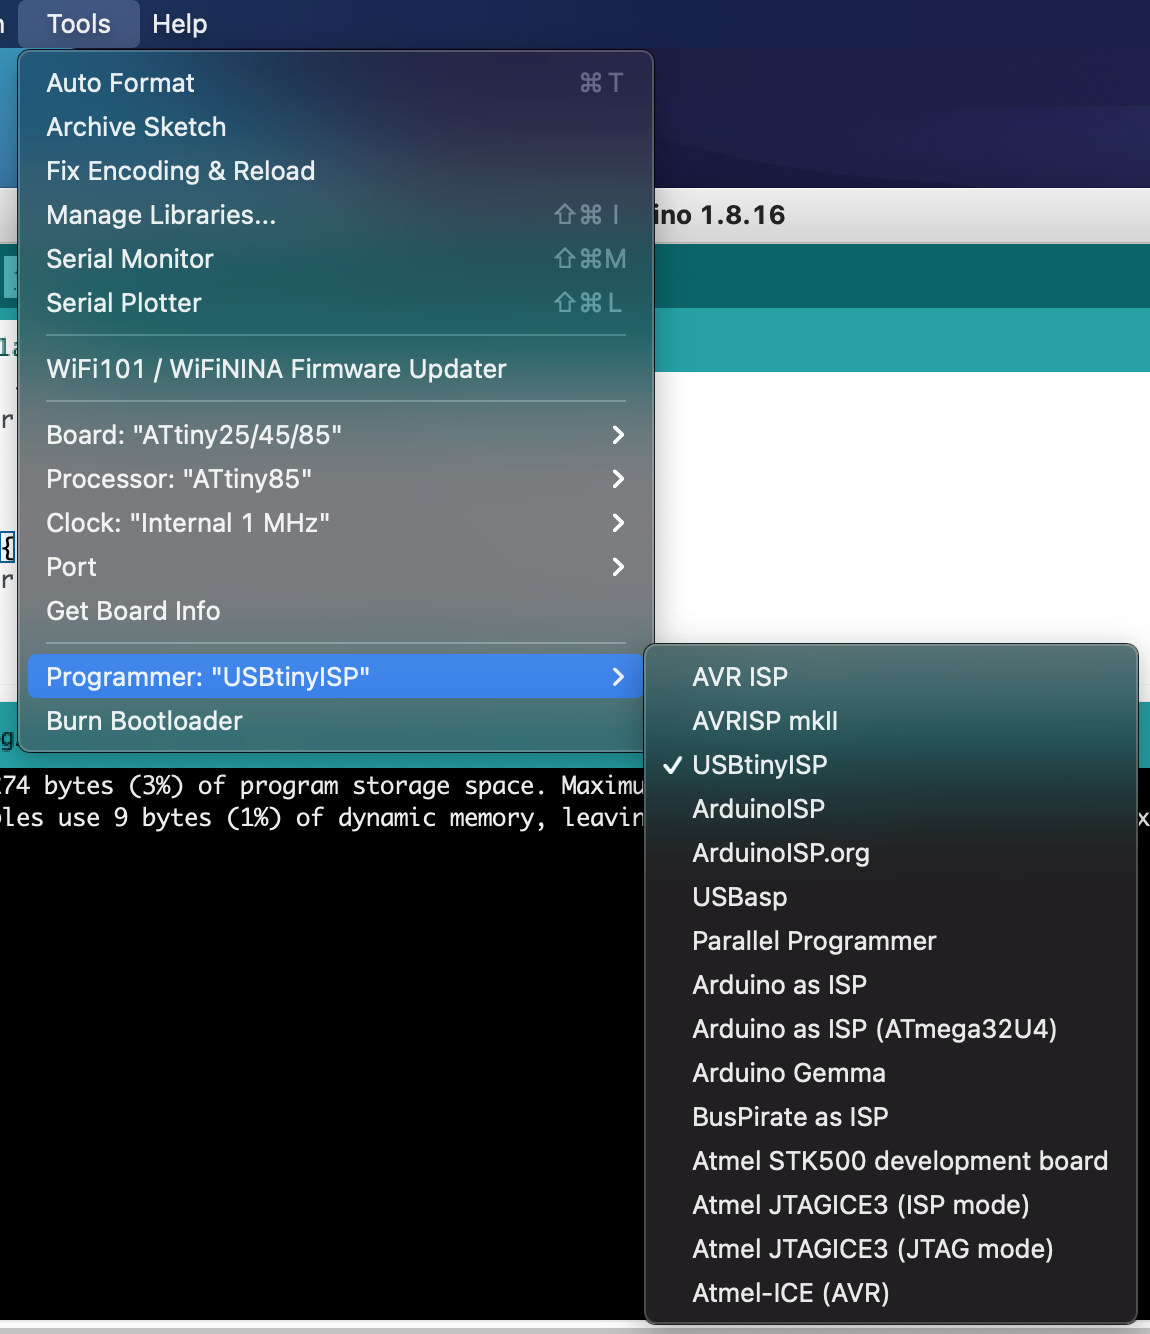
5. After installation, we can find the chip options of Attiny85 in Tools, as shown in the figure. Please note that not only the blue part, but also “Processor” and “Clock” etc. need to be selected.
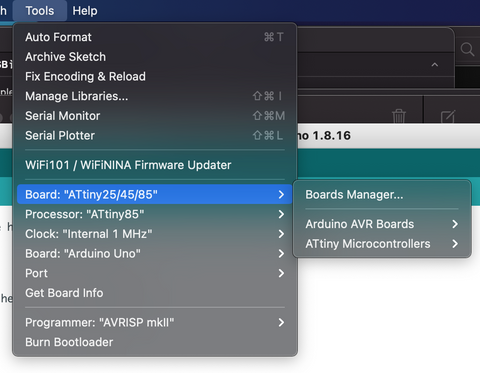
6. Here, we also need to choose the picture that the programmer can refer to and choose USBtinyISP.
7. Now we plug the Attiny85 chip directly into the Dip8 socket. Please note that the symmetrical notch must not be inserted backwards, otherwise it will easily burn the chip and the programmer.

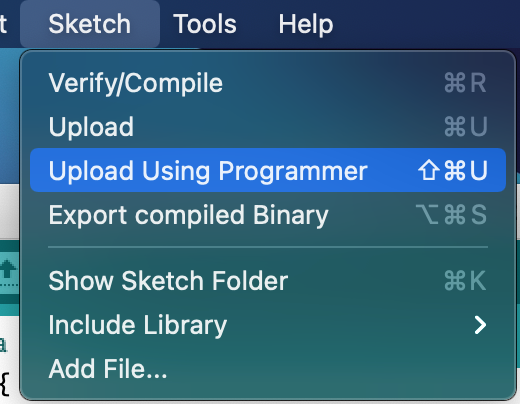
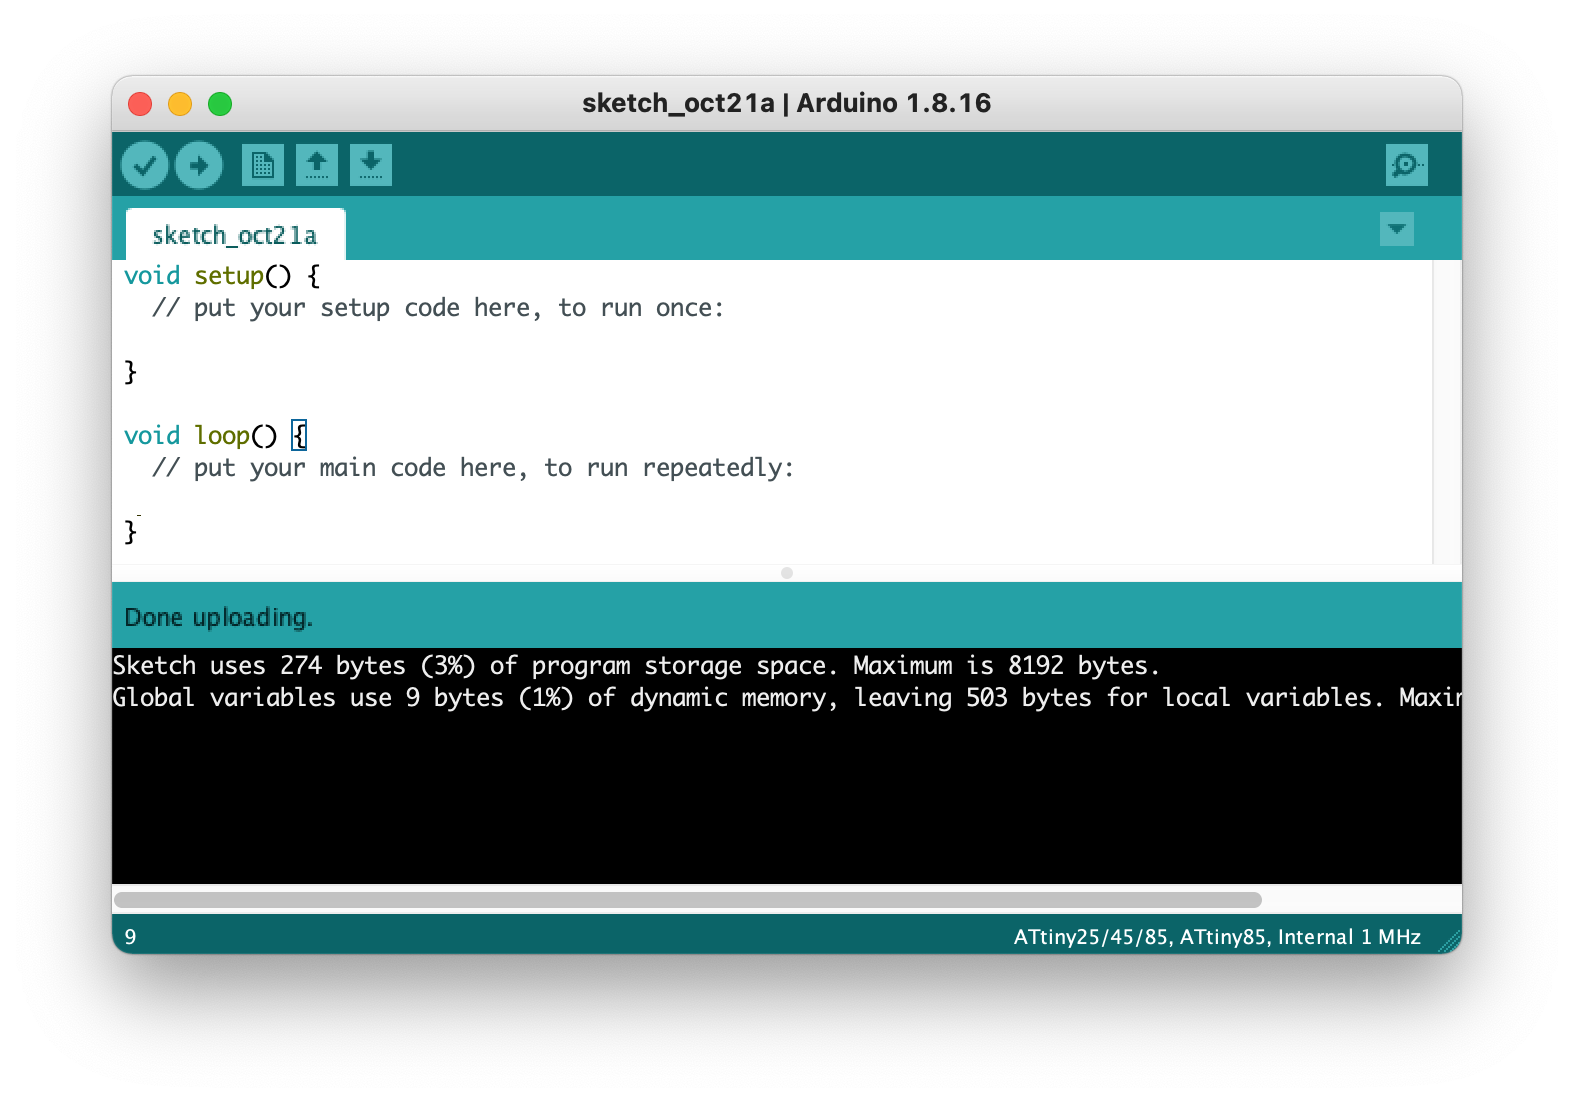
8. We can directly select “Upload Using Programmer” in “Sketch” to upload a default empty program, then you will see the LED on the programmer begin to flash and prompt that the upload is successful.
